How to Choose and Install the Perfect Kitchen Tile for Your Home

Introduction
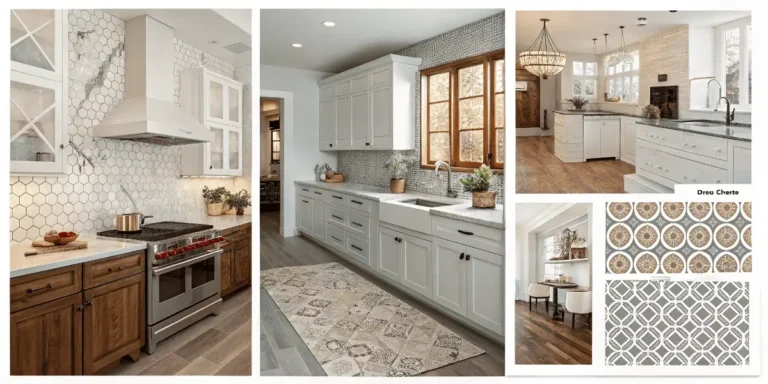
Kitchen tile refers to the ceramic, porcelain, stone or other tile pieces used on kitchen surfaces — floors, backsplashes, walls, islands, and sometimes countertops.
Because kitchens face moisture, grease, foot traffic, and mess, choosing the right kitchen tile matters more than just looks.
A smart tile choice prevents damage, eases cleaning, and boosts style and resale value. In this guide you’ll learn what kitchen tile is, why it matters, how to install and maintain it, tips to avoid mistakes, and some recommended products to get you started.
What Is Kitchen Tile?
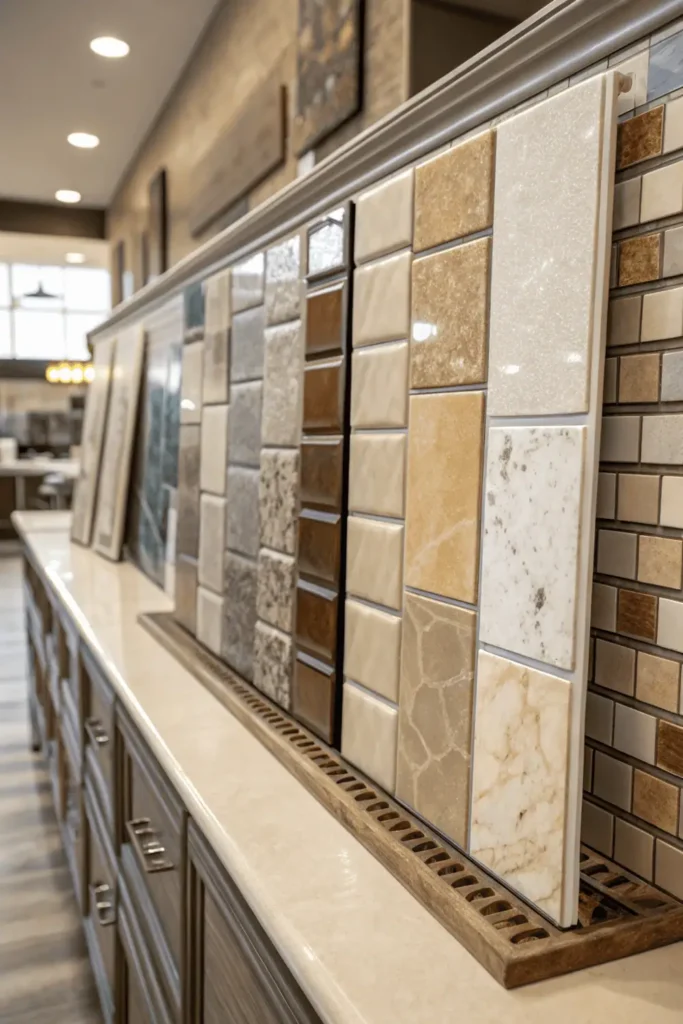
“Kitchen tile” is a broad term for tiles suited to kitchen environments. Tiles are made from materials such as ceramic, porcelain, natural stone, glass, or composite materials. Porcelain, which is a type of low-porosity ceramic, is commonly used because of its durability and water resistance. Wikipedia Some tiles are glazed (have a protective surface) and others are unglazed or semi-glazed.
Tiles differ in thickness, strength, slip resistance, and surface finish. Some are intended only for walls (lighter, thinner), others for floors (stronger, rated for foot traffic). It’s essential to choose tiles rated appropriately for the intended kitchen use. Emily Henderson+2Fireclay Tile+2
One special kind is vitrified tile — a very hard ceramic tile with very low porosity. It resists stains and water and is often used in high-use zones. Wikipedia
Why Kitchen Tile Is Important
Protection & Durability
Kitchen surfaces face spills, steam, dropped utensils, heat, and foot traffic. A quality tile protects the substrate (walls or floor) from moisture damage or stains.
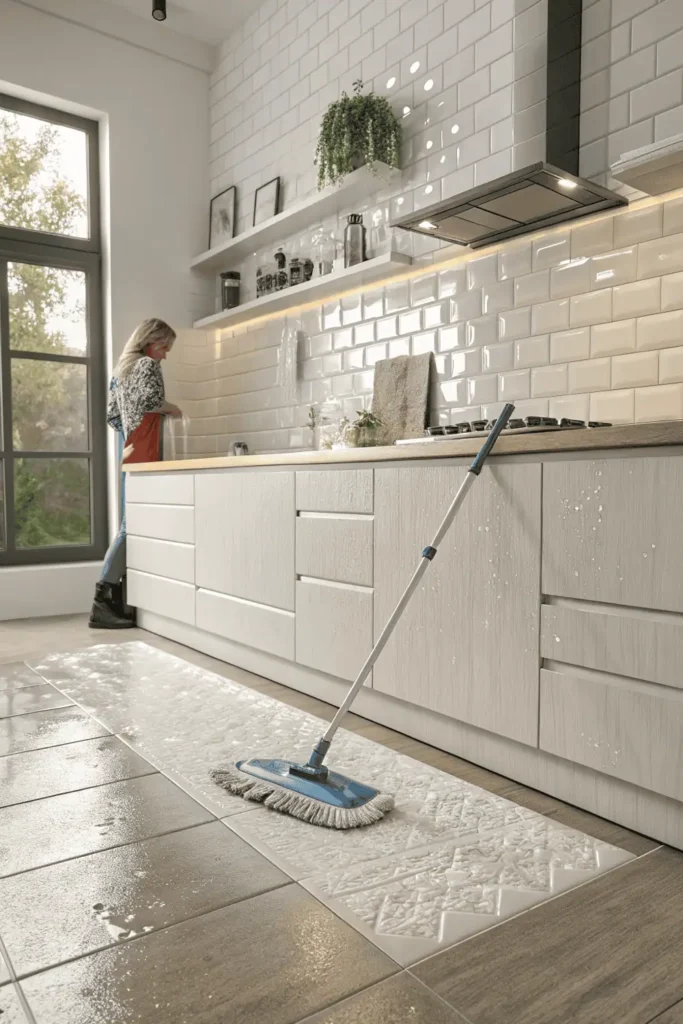
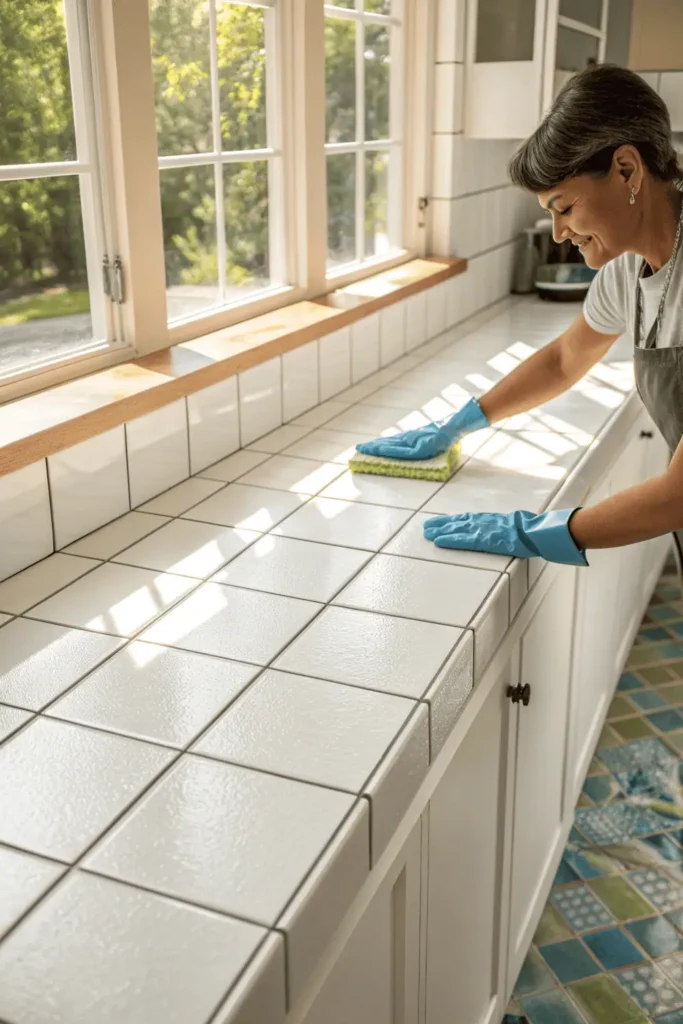
Easy Cleaning & Sanitation
Tiles with a smooth glaze or sealed surface are easier to wipe, clean, and disinfect. Grout lines are often the trickiest part but with good sealing and periodic maintenance, they can be kept clean.
Aesthetic & Value
Tile choices influence the overall look and feel — modern, rustic, classic, minimal, bold. Matching tile to your kitchen design improves visual harmony. Good tile work also increases home value.
Safety
Some tiles have slip ratings or texturing. In kitchens, you want flooring tiles that give traction (not overly glossy or slick). Also consider tile sizes and grout gaps to avoid tripping hazards.
Step-by-Step Guide to Planning & Installing Kitchen Tile
Below is a clear roadmap from planning through finishing.
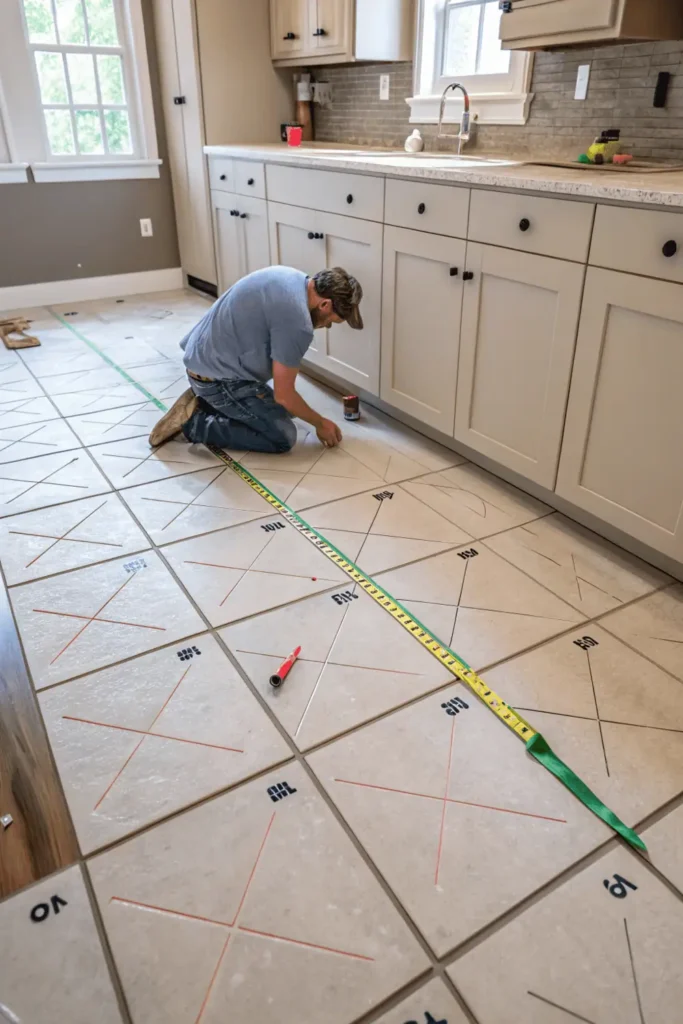
Step 1: Measure & Plan
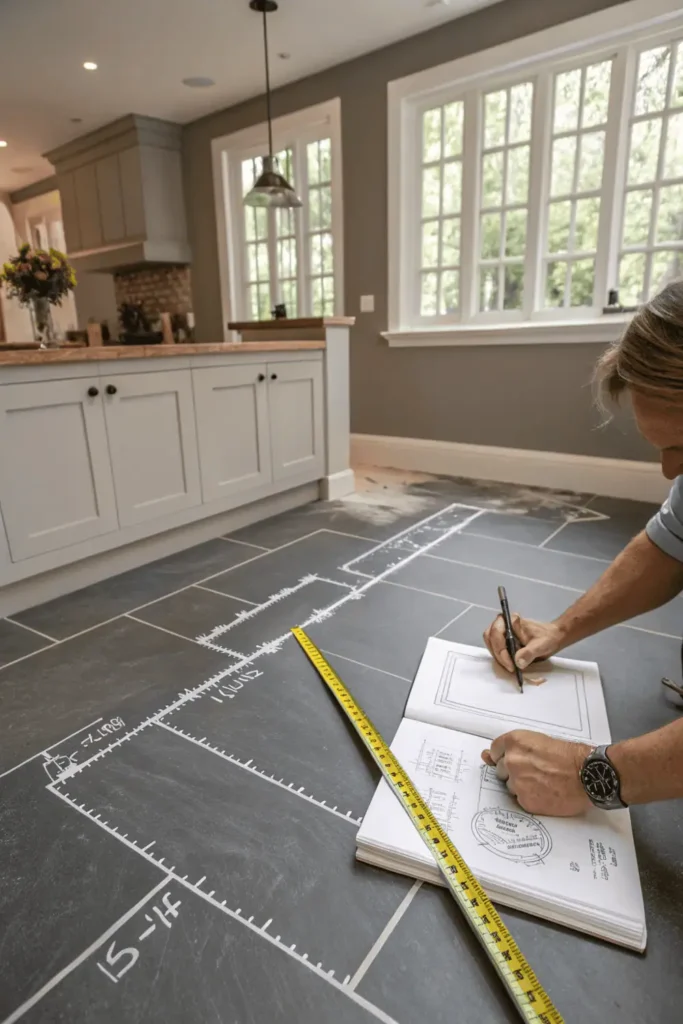
- Measure the area you want to tile (length × height for walls, length × width for floors).
- Add an extra 10% to 15% for waste, cuts, and breakage. (Many tile guides recommend adding ~10%) Why Tile+2wallsandfloors.co.uk+2
- Sketch how tile would be laid (centerline, alignment with cabinets, transitions).
- Choose your tile size, pattern, and grout width.
Step 2: Select Tile, Adhesive & Grout
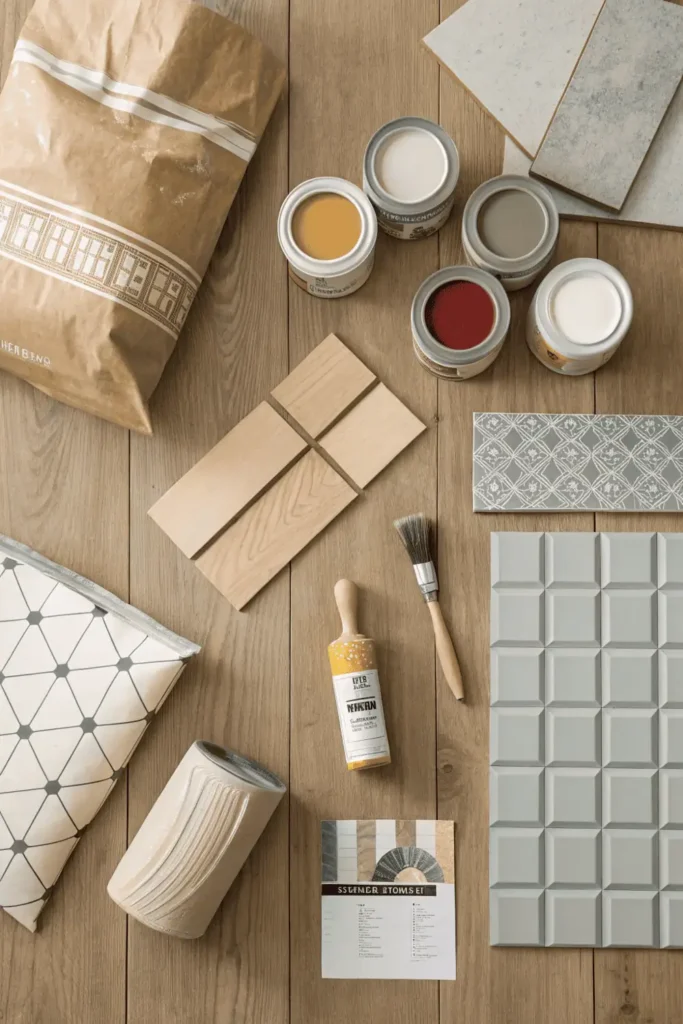
- Pick tiles rated for floor or wall as needed.
- Choose an adhesive (thinset or mastic) suited for your surface and tile size.
- Pick the proper grout (sanded vs unsanded) depending on joint width and tile material. Better Homes & Gardens
- Get a sealer if using porous tiles (stone, certain ceramics).
Step 3: Prepare the Surface
- Remove old tiles or wall coverings if needed.
- Ensure the surface is flat, smooth, dry, and clean.
- For walls or floors needing more support, install cement board or backer board. Wikipedia
- Use a leveling compound or patch voids as necessary.
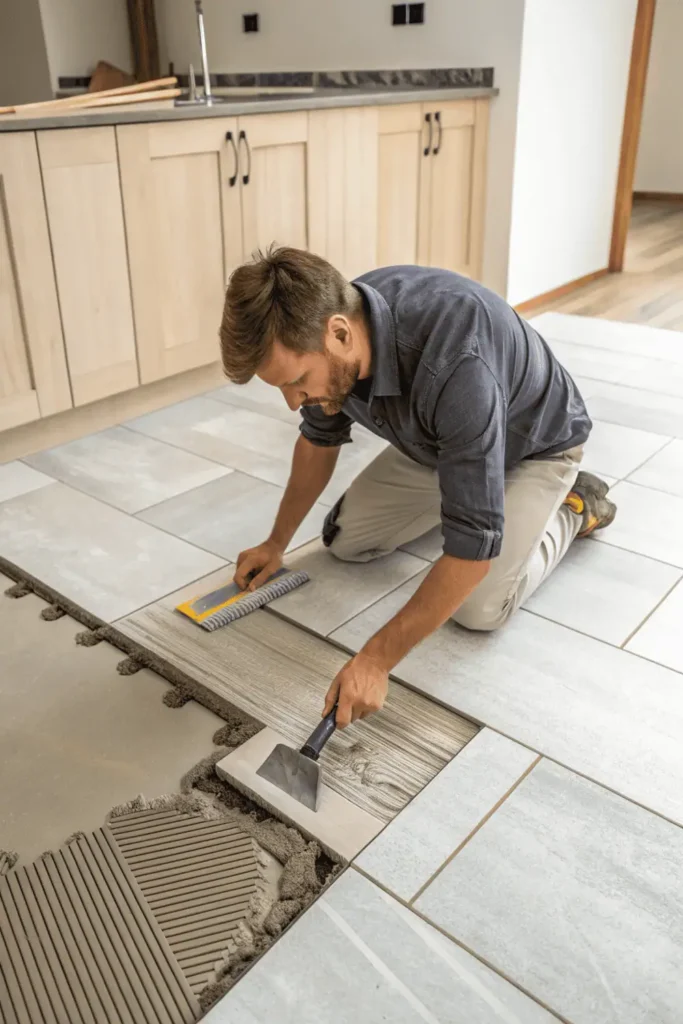
Step 4: Layout & Dry Fit
- Lay your tiles loosely without adhesive to see how they align and where cuts will appear.
- Adjust your layout to avoid small slivers of tile at edges.
- Mark tile centers or guides using chalk lines.
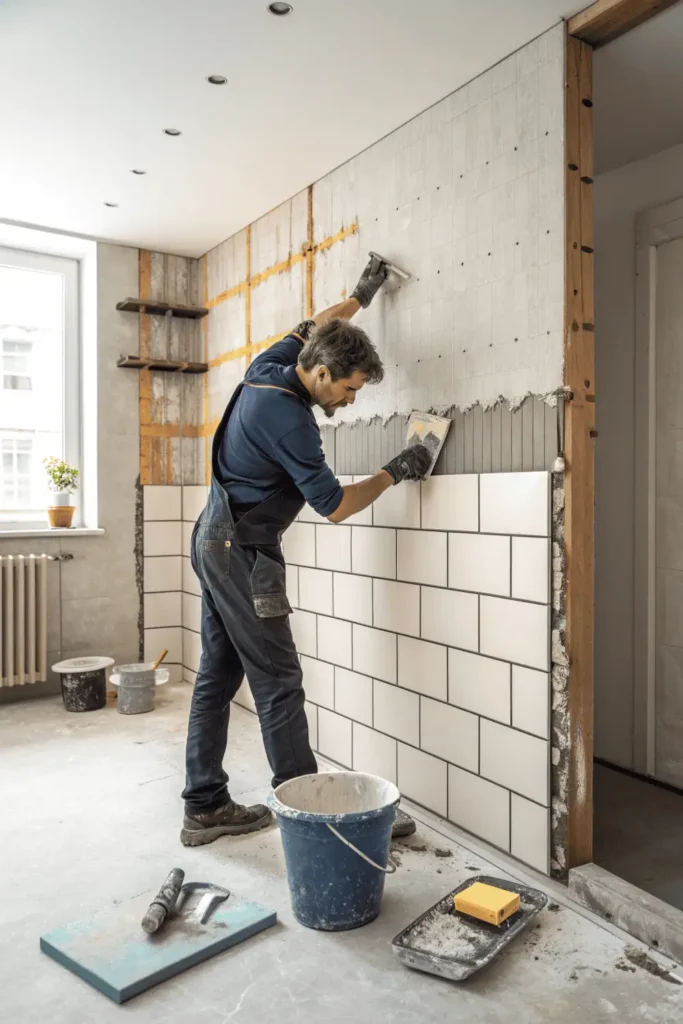
Step 5: Apply Adhesive & Set Tiles
- Mix adhesive per instructions.
- Using a trowel of appropriate notch size, spread adhesive and comb grooves.
- Press tiles firmly and use spacers to maintain consistent grout joints.
- Work in small sections so adhesive does not skin over before placing tiles.
Step 6: Cut & Fit Edge Tiles
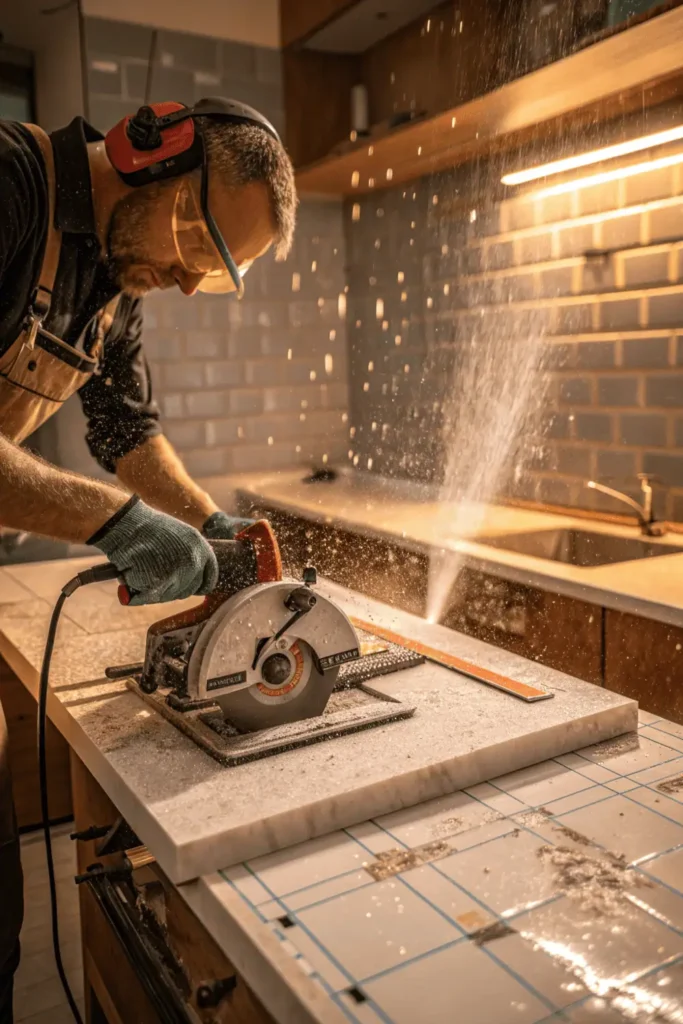
- Use a tile cutter or wet saw for precise cuts at walls, outlets, corners.
- Frequently dry fit cut pieces before gluing.
Step 7: Grout the Joints
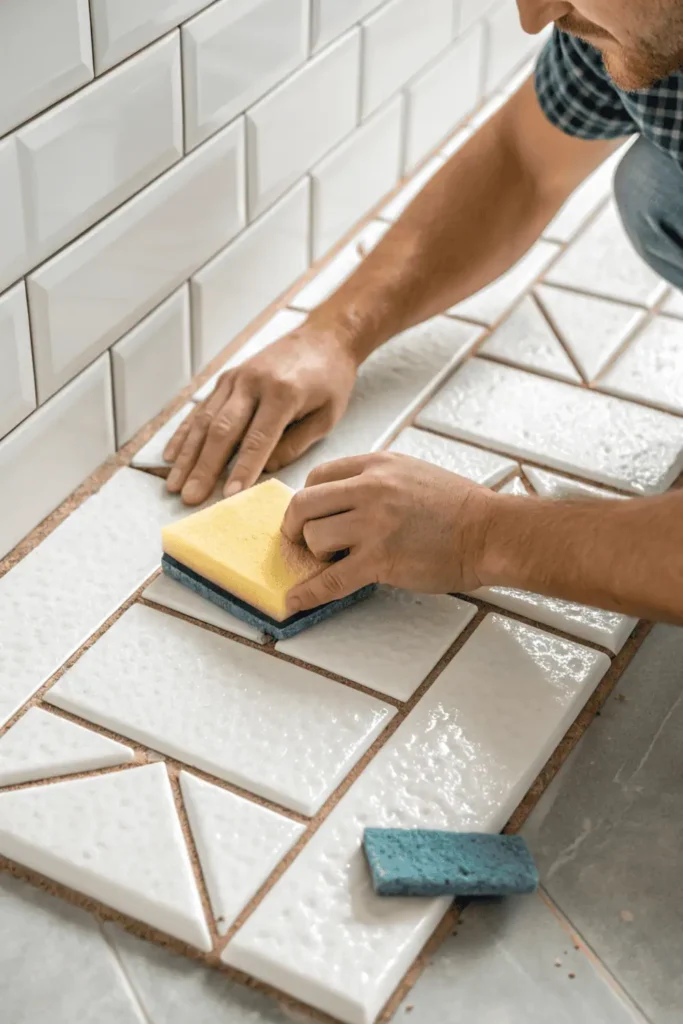
- After adhesive sets (usually 24 hours), mix grout and apply with a rubber float, pushing grout into joints.
- Wipe off excess with a damp sponge before it hardens.
- Once grout cures (per manufacturer time), seal grout (and tile if porous) to protect against stains.
Step 8: Final Touches & Clean-Up
- Reinstall baseboards or trims.
- Caulk edges where tile meets another surface or countertop.
- Clean all grout haze and residues.
- Allow full cure time before heavy use (often 48–72 hours).
Comparison Table: Tile Types and Uses
| Tile Type | Porosity / Water Resistance | Best Use Area | Pros | Cons |
| Porcelain | Very low (impervious) | Floors, backsplashes, walls | Durable, stain resistant, long lasting | Hard to cut, costlier |
| Glazed Ceramic | Moderate | Walls, backsplashes | Wide color/design options, easier cut | Less ideal for heavy floor zones |
| Natural Stone | Variable (needs sealing) | Accent walls, flooring | Unique, upscale aesthetics | Requires sealing, more maintenance |
| Glass Tile | Very low (non-porous) | Backsplashes, decorative zones | Reflective, colorful, modern look | Brittle for floors, high cost |
| Vitrified (GVT) | Very low | Floors & walls | Tough, low porosity, versatile | More expensive, heavier to install |
This table helps you see at a glance which tile types suit which kitchen applications.
Practical Tips, Common Mistakes & Cautions

✅ Always order extra tile from the same batch to avoid color or shade mismatch later.
⚠️ Avoid choosing a tile that is only wall-rated and then use it on the floor—it may crack or fail under load.
💡 Use a grout color that helps hide stains — mid-tone grouts are safer than pure white in active kitchens.
⚠️ Don’t rush cleaning grout — letting haze fully dry makes it harder to remove.
✅ Seal porous tiles and grout properly and re-seal as needed.
⚠️ Avoid extremely complex patterns (diagonals, herringbone) unless you are experienced—or be prepared for higher labor or waste.
💡 Use spacers and check alignment frequently — misalignment compounds over rows.
⚠️ Don’t skimp on the subfloor or backing preparation; a weak or uneven base leads to cracked tiles.
Recommended Products (Amazon)
Below are five helpful products that many homeowners use when working with kitchen tile. You can check their current prices and availability on Amazon:
- Tile Cutter (Manual / Wet Saw)
A reliable tile cutter is essential for precise trimming, especially for edge pieces and around fixtures.
[Check Product Price] - Thinset Adhesive
A good polymer-modified thinset helps bond tiles securely to wall or floor surfaces, particularly for kitchen conditions.
[Check Product Price] - Grout (Sanded / Unsanded Mix)
Use sanded grout for wider joints or unsanded for narrow gaps or delicate tiles—this mix works for many kitchen uses.
[Check Product Price] - Grout Sealer / Tile Sealer
To protect grout and porous tiles from stains, a penetrating sealer is essential after installation.
[Check Product Price] - Tile Spacers & Leveling Clips Set
Helps maintain consistent joint spacing and keeps tiles level across the surface — especially useful for long runs.
[Check Product Price]
(Note: Replace above “Check Product Price” with actual Amazon links and product names you prefer.)
Conclusion & Call to Action
Choosing and installing the right kitchen tile is more than just picking a pretty pattern — it’s about durability, safety, ease of maintenance, and value. With careful planning, proper preparation, correct materials, and attention to detail during installation, you can create a tile surface that looks great and lasts years. If you’re ready to dive in, start by selecting your tile type and gathering your tools, then follow the step-by-step guide above. Would you like help selecting tiles for your specific kitchen style or matching colors? I’d be happy to assist further.
FAQs
Q: Can I tile directly over existing tiles in my kitchen?
A: You can sometimes tile over existing tile if the surface is extremely flat, well bonded, and has no movement. But it is generally safer to remove old tile and properly prep the surface for a stronger, more durable installation.
Q: How often should I reseal grout in a kitchen?
A: That depends on the sealer used and how much wear the area gets, but a good rule is to reseal every 1–2 years or when water no longer beads on the grout surface.
Q: What tile size is best for kitchen floors or backsplashes?
A: Medium sizes like 12×12 in or 12×24 in are very common for floors. For backsplashes, smaller tiles (e.g. subway 3×6 in) or mosaics may be more manageable. The key is balancing aesthetics, grout maintenance, and ease of installation.